
Start with a strip of card board about one inch and a quarter larger than the book and large enough for two witdth of the book plus about one inch and a quarter. This is for the support of the tray and should be made of thin card board, 4 ply museum board is good for that.
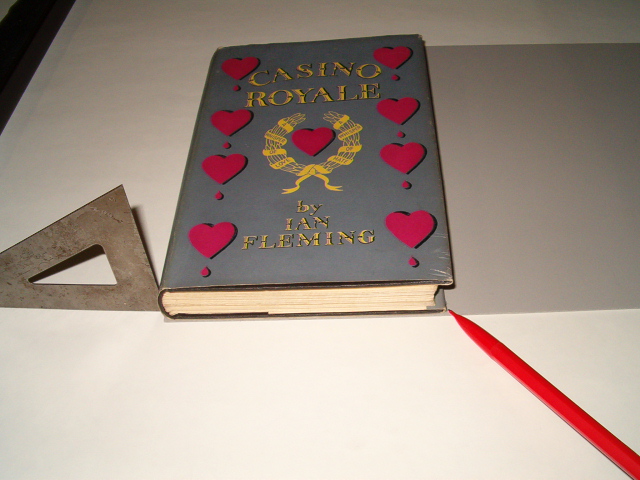
Place the book on the support board, the spine towards the short side of the board. Bring a square in contact with both the edge of the board and the spine of the book, making sure that both are aligned flush to the square. The book should not be forced unto the square (unless its binding is cocked or askewed but instead rest naturally on the board. With a sharp pencil mark the spot of the cover’s foredge. This is the only measurement one needs for the width of the trays.
For the wall of the trays choose a thicker board, twice or heavier than the support board. Size is double the width of the book plus two inches and long enough for roughly five times the thickness of the book. Out of it, cut two “A” strips of a width equal to the thickness of the book, and another two “B” strips of the same width plus one thickness of the wall board. Now, you are ready to cut the trays to size.
Place the measured support board in the shear, the marked line ligned with the bottom blade, towards the square guide and press; place two thickness of wall board and bring the square to it and secure tight. Remove the wall boards and slide the support board snug unto the square. Press and cut, remove the board, mark it as “bottom” and set aside.
Place one wall board strip into the shear and cut two pieces, set them aside with the bottom board. These are the cuts for the width of the bottom tray. Now take your left over support board and repeat the steps, adding two thicknesses of the wall boards. Cut and mark as “top” and set aside with its respective wall pieces.
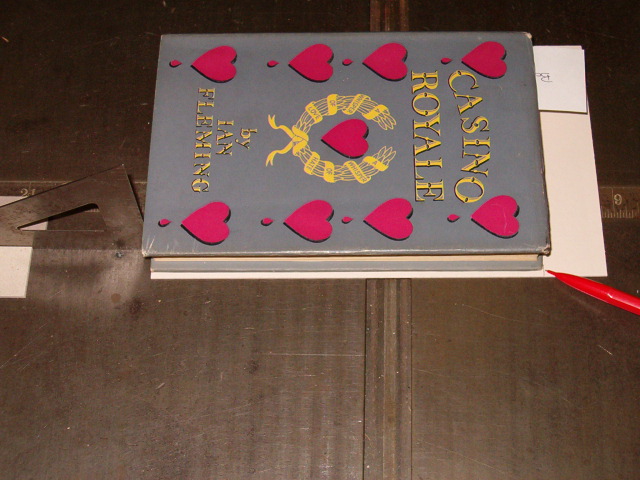 Time now to measure the height of the tray, place the book with the bottom edge of the book towards the short side of the bottom board. Bring a square in contact with both the edge of the board and the tail edge of the cover of the book, making sure that both are aligned flush to the square. Mark the spot on the support at the head edge of the book. This is the only measurement you need for cutting the trays.
Place your measured bottom board in the shear and proceed as for cutting the width but this time add three pieces of wall board instead of two. Cut the board and put aside. Take the remaining long strip of A wall board,place in the shear against the square minus two thicknesses of wall board and cut. Set aside with the rest of your bottom tray parts. Same steps for the top tray, adding another three thicknesses of wall board.
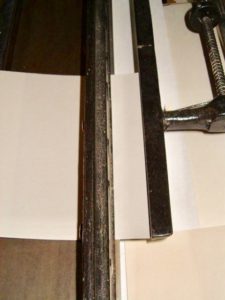
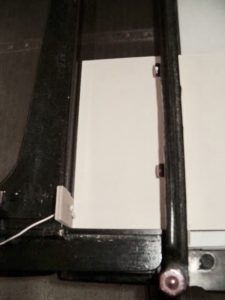
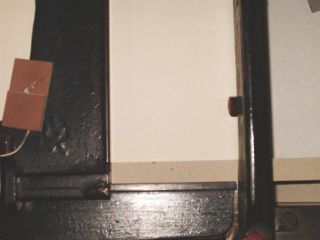
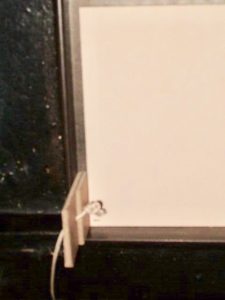
In a production environment, the preparation of a gauge for the boards used to add to the dimensions of the book is advised. This gauge is kept stringed to the cutter, as seen in the photographs.
Note that the thickness used for this gauge can and should be adjusted to your standard of a good fit. I used the 2 and 3 boards lingo for matter of simplicity. In my gauge, I used both heavy and light boards, the idea is to provide room on the support boards for the thicknesses of the wall boards and the covering material. Also room should be provided for easy placing and removal of the book in and out of the tray.
A tight fit never means that you would need to force the book into the tray!
This method of cutting the trays is quick and efficient, the whole process should not take more than 5 minutes for the two trays, that is if you discipline yourself to keep your mind on the task and avoid distractions.
If your are not blessed with possessing a board cutter, use a square and a sharp blade, and thinner board, of course it will take more time and effort to cut…